Cloudreve部署
Cloudreve部署
Linux专业课 期末大作业
Cloudreve是一个由Go语言开发的网盘系统,可以快速部署在服务器上,支持不同的云存储平台。本次作业我们小组将基于Centos7使用Cloudreve搭建一个以ECS云盘为存储平台的小团体的网盘系统。
1.1 环境准备
需要准备的内容有:
- Go语言开发环境
- 安装Node.js
- 安装Yarn
- 安装git
Cloudreve程序中内置了一个Web服务器,构建完毕运行之后会在5212端口创建一个服务,所以我们不需要额外安装Apache或者Nginx
安装Go语言开发环境
1.在Go官网下载Linux开发工具包
1 | |

2.解压安装包
1 | |
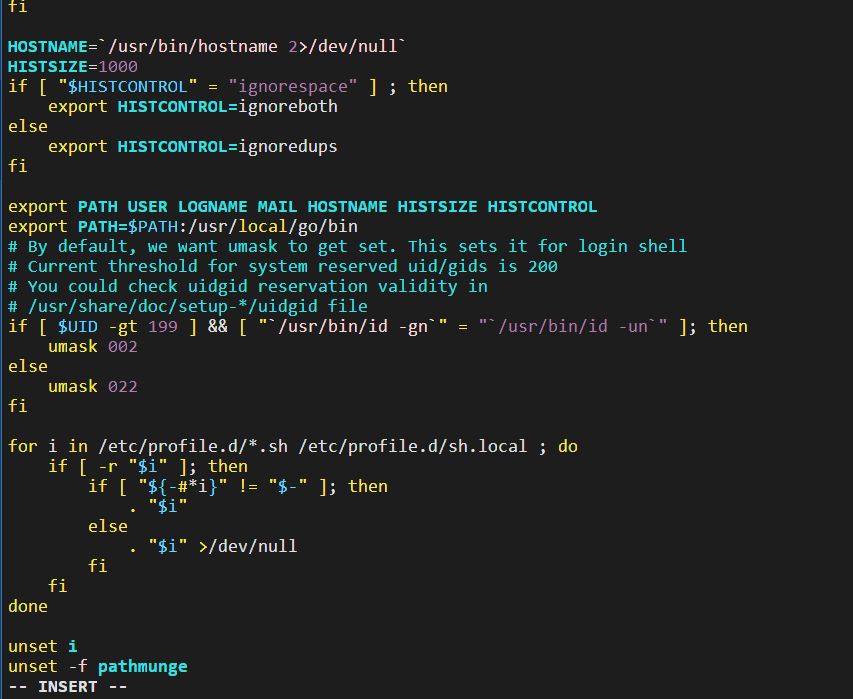
3.设置环境变量
编辑文件/etc/profile
1 | |
在其底部添加
1 | |
4.查看go版本
1 | |

确保已经正确安装go环境。
安装Node.js
Node.js是JavaScript的一个免费开源跨平台的一个运行环境,因为Cloudreve需要Node.js的支持,所以我们需要在centos7中安装Node.js。
1.在官网找到软件包
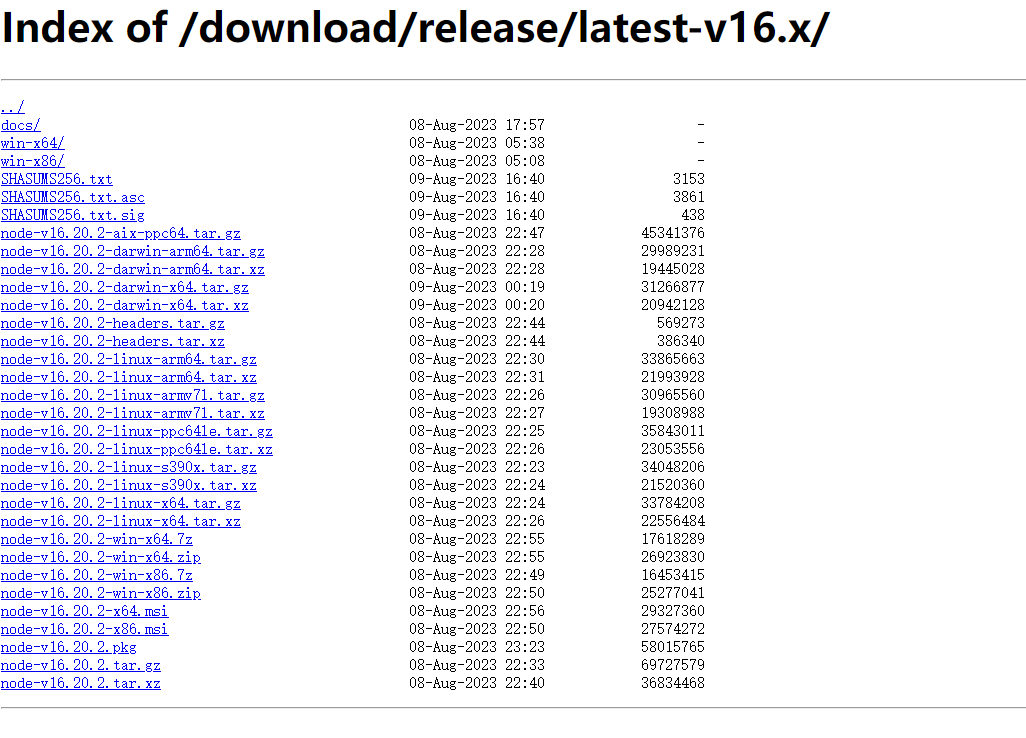
使用wget下载
1 | |
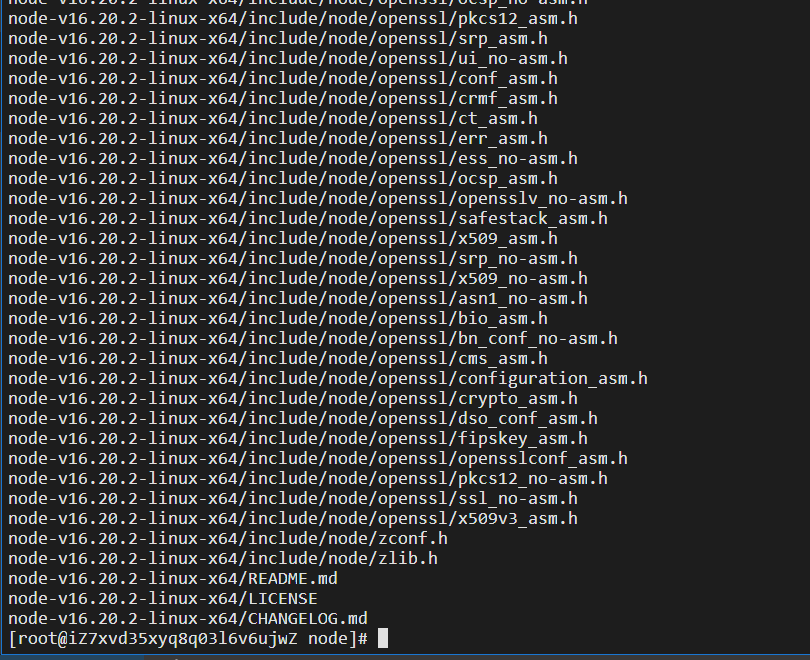
2.解压软件包
1 | |
3.移动目录
1 | |
4.配置环境变量&刷新
1 | |
1 | |
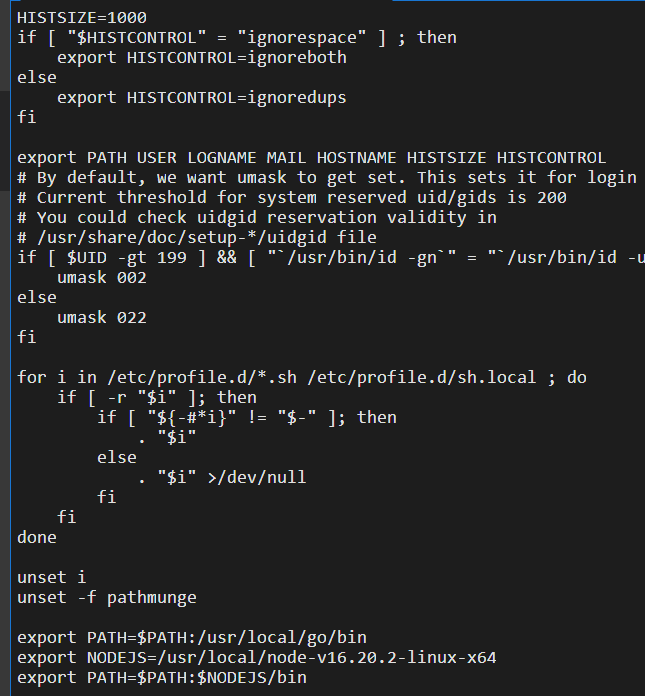
安装成功

安装Yarn
1.添加Yarn仓库
1 | |

2.安装Yarn
1 | |
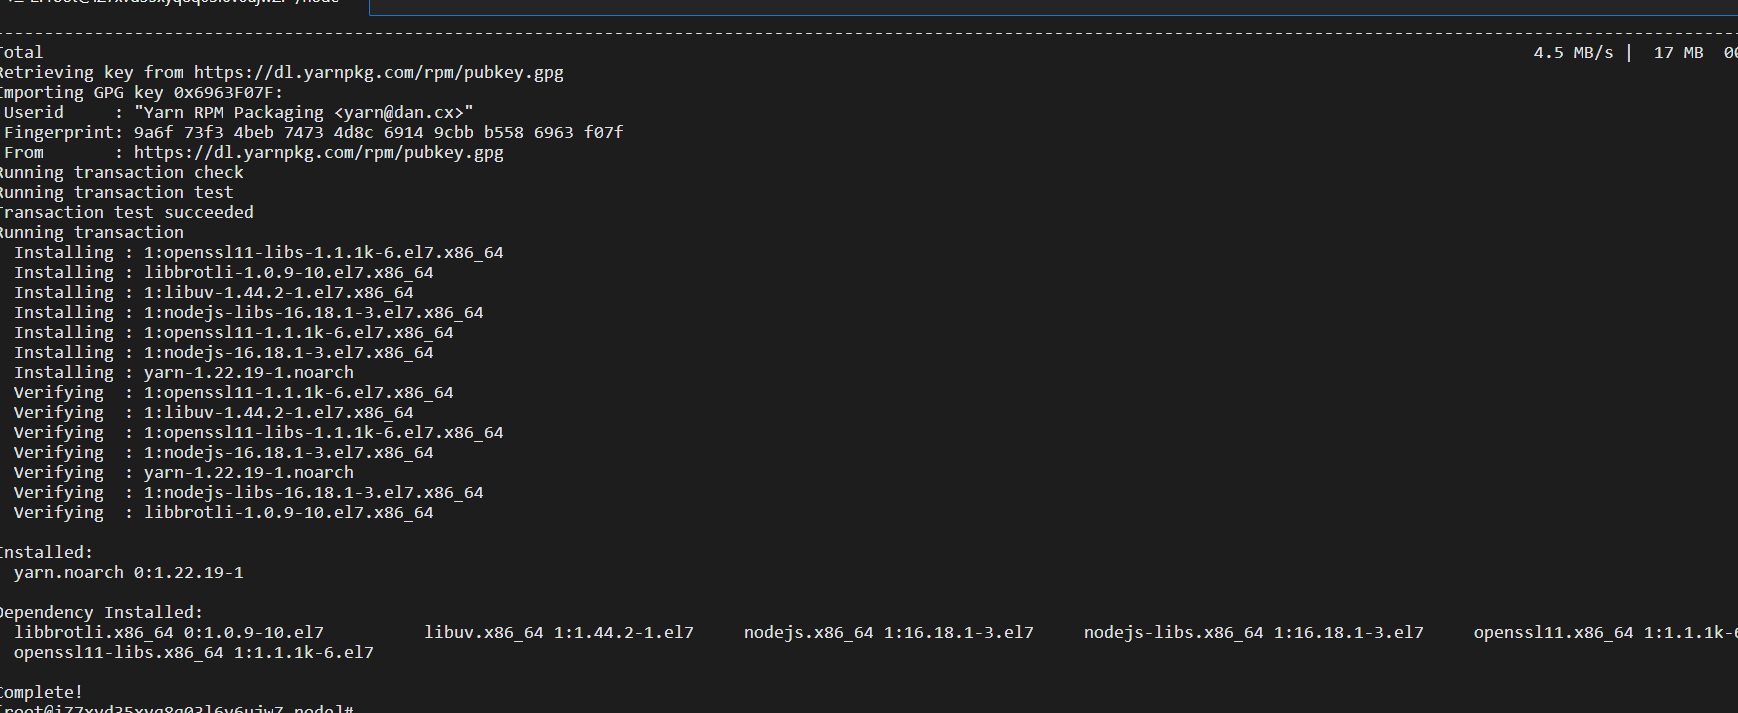
3.安装完成检查版本
1 | |

安装git工具
1 | |
1.2 开始构建
克隆代码
1 | |

1 | |
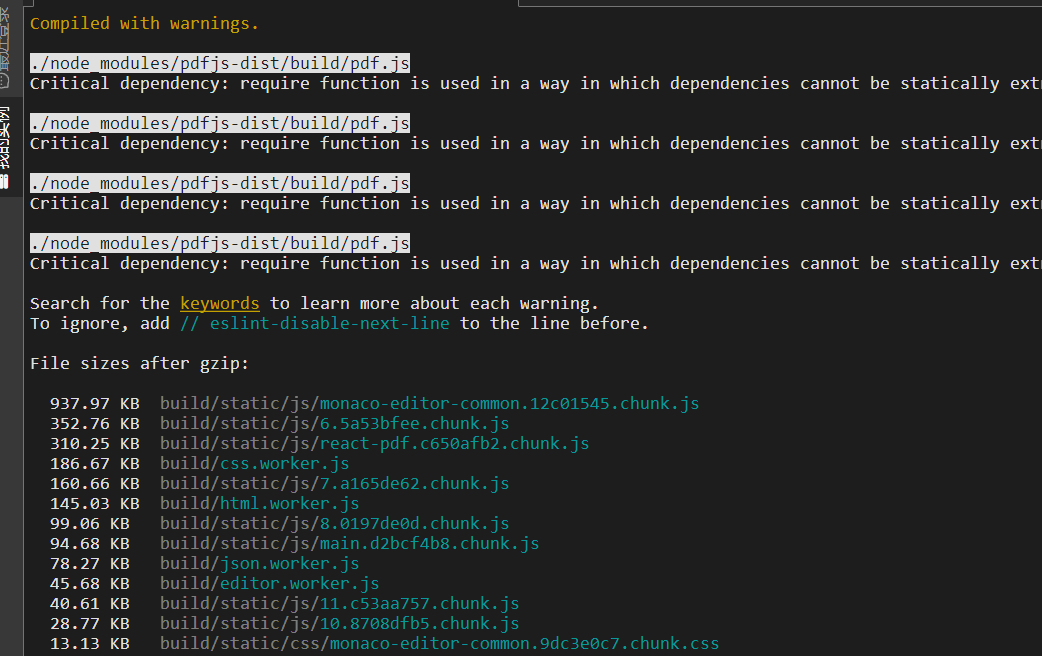
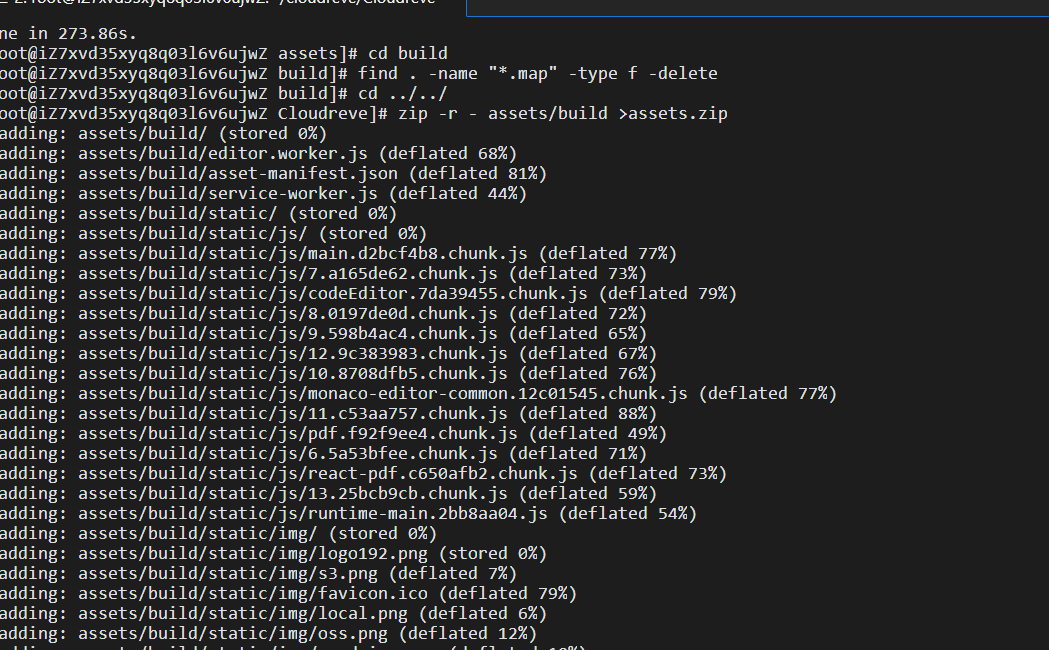
构建静态资源
1 | |
编译项目
获得当前版本号
1 | |
开始编译
1 | |
首次编译时,Go 会下载相关依赖库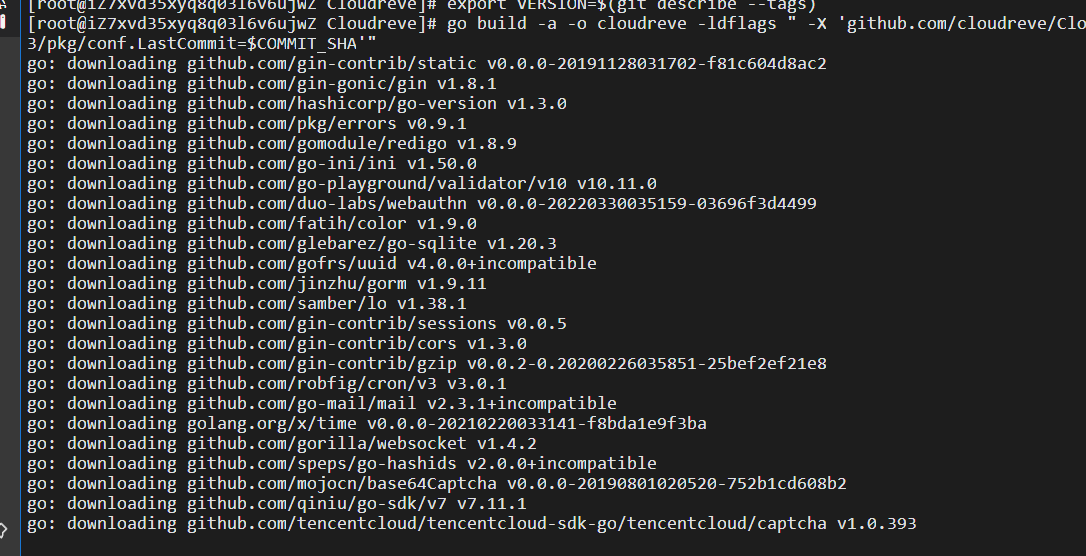
编译完成之后,在项目根目录生成最终的可执行文件cloudreve
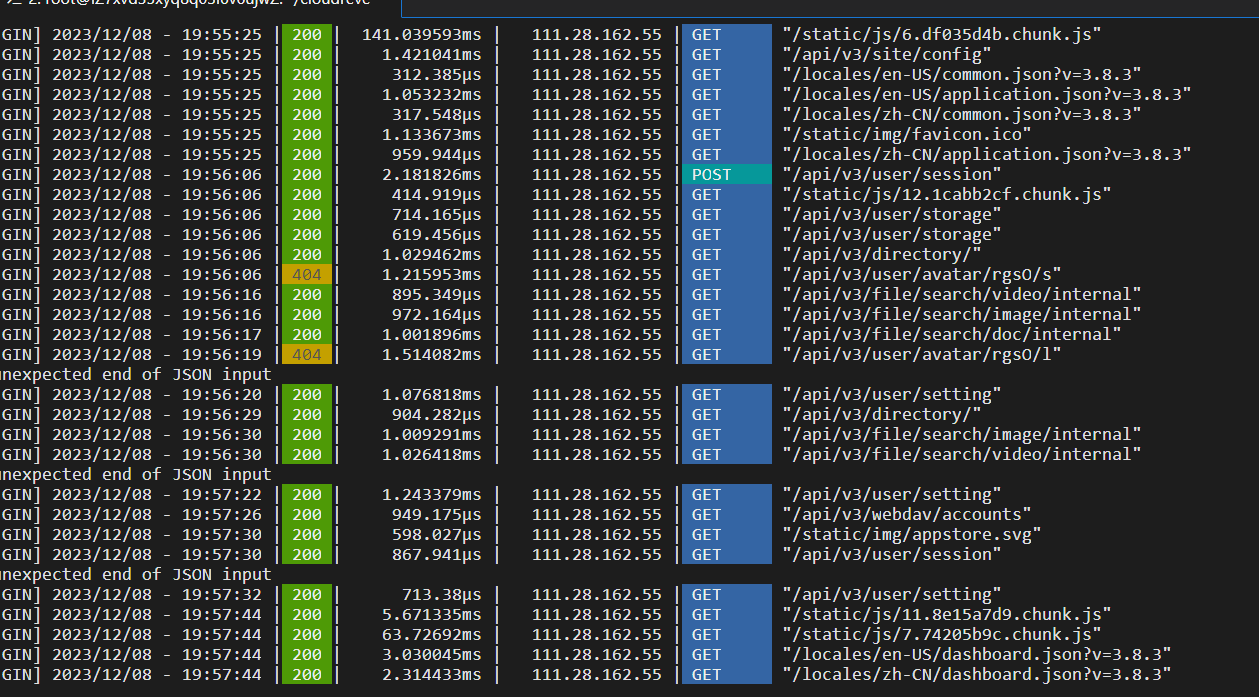
1.3 启动 Cloudreve
1 | |
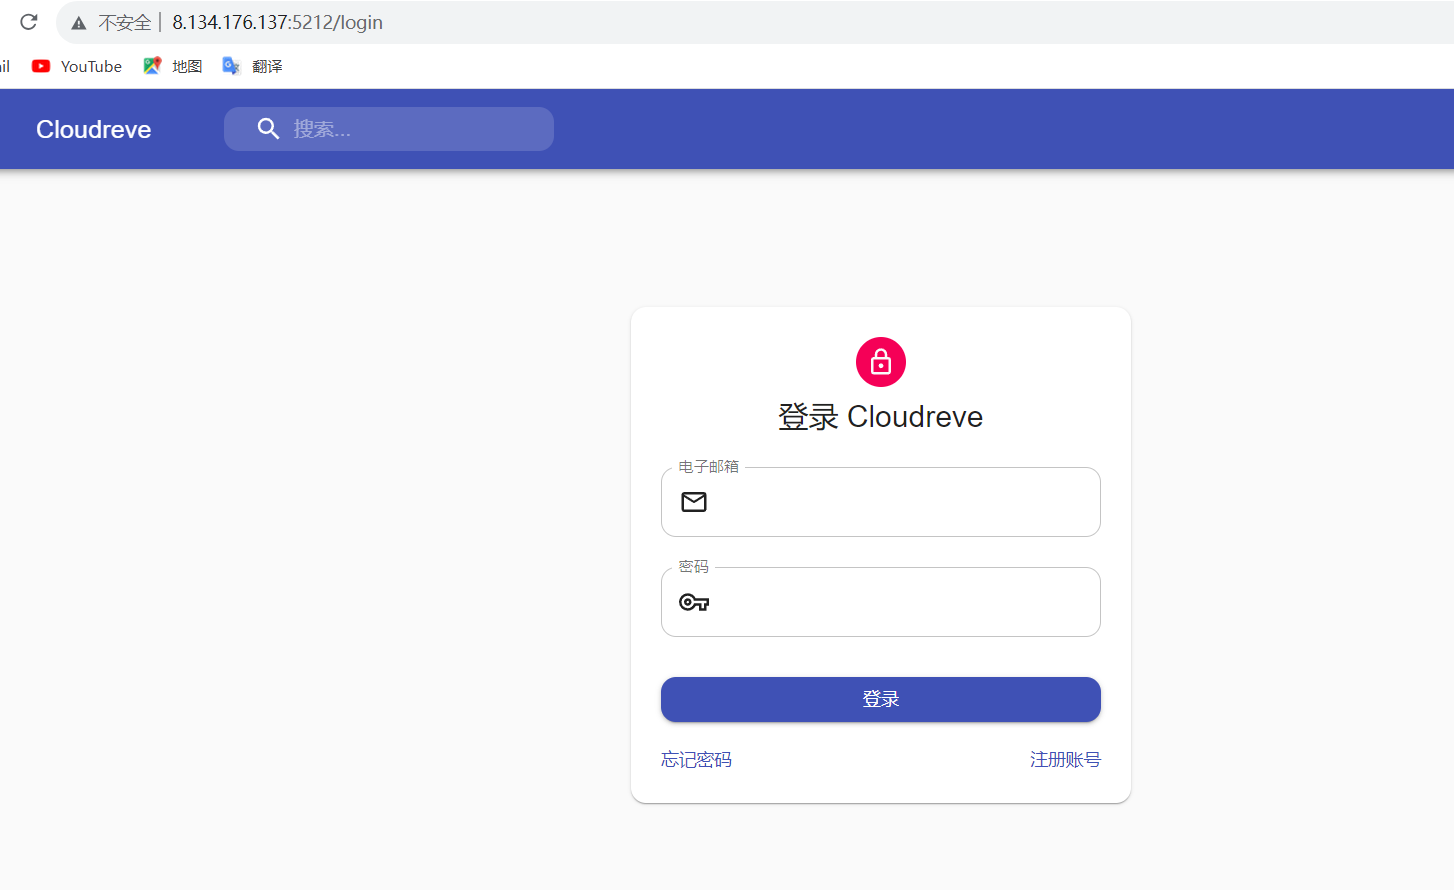
Cloudreve 默认会监听5212端口。在浏览器中访问http://服务器IP:5212进入 Cloudreve。
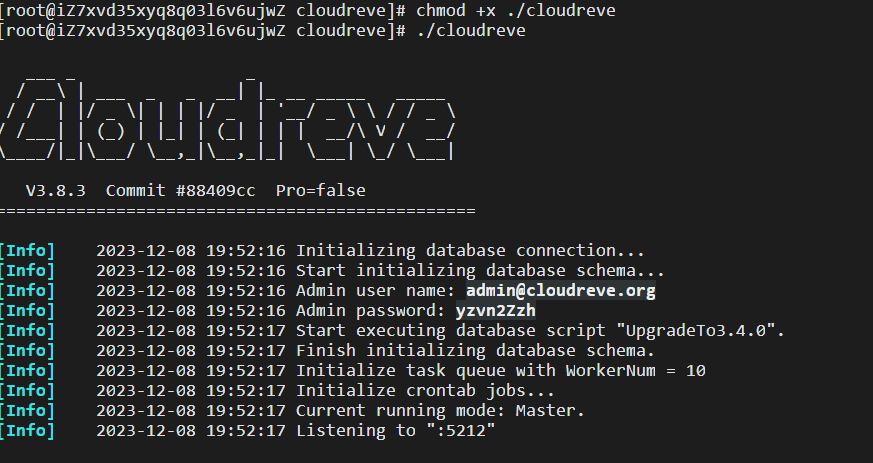
1.4 完成
访问IP:5212端口,保存初次启动Cloudreve的默认密码登录web端后台
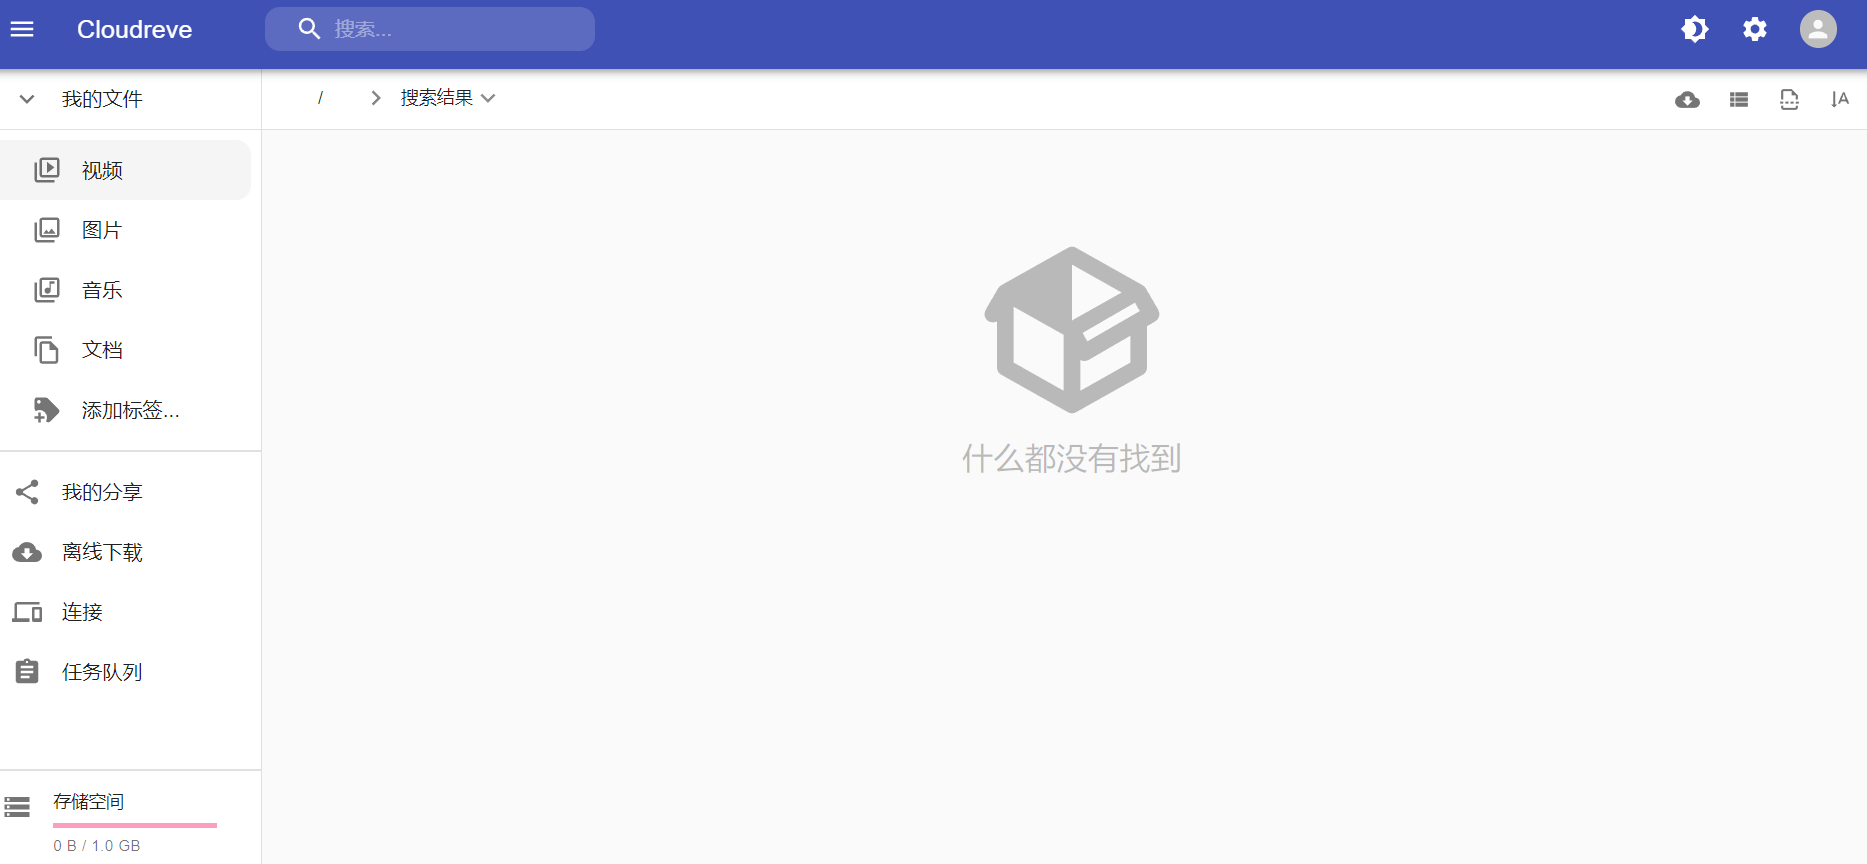
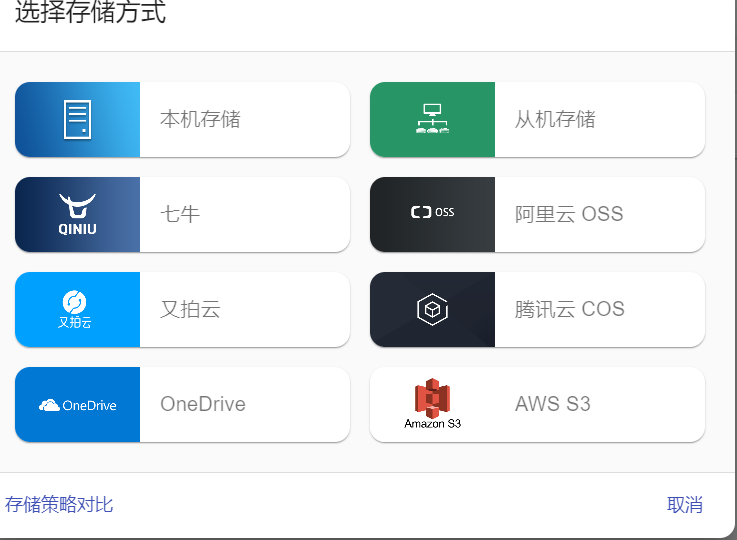
设置存储空间和用户组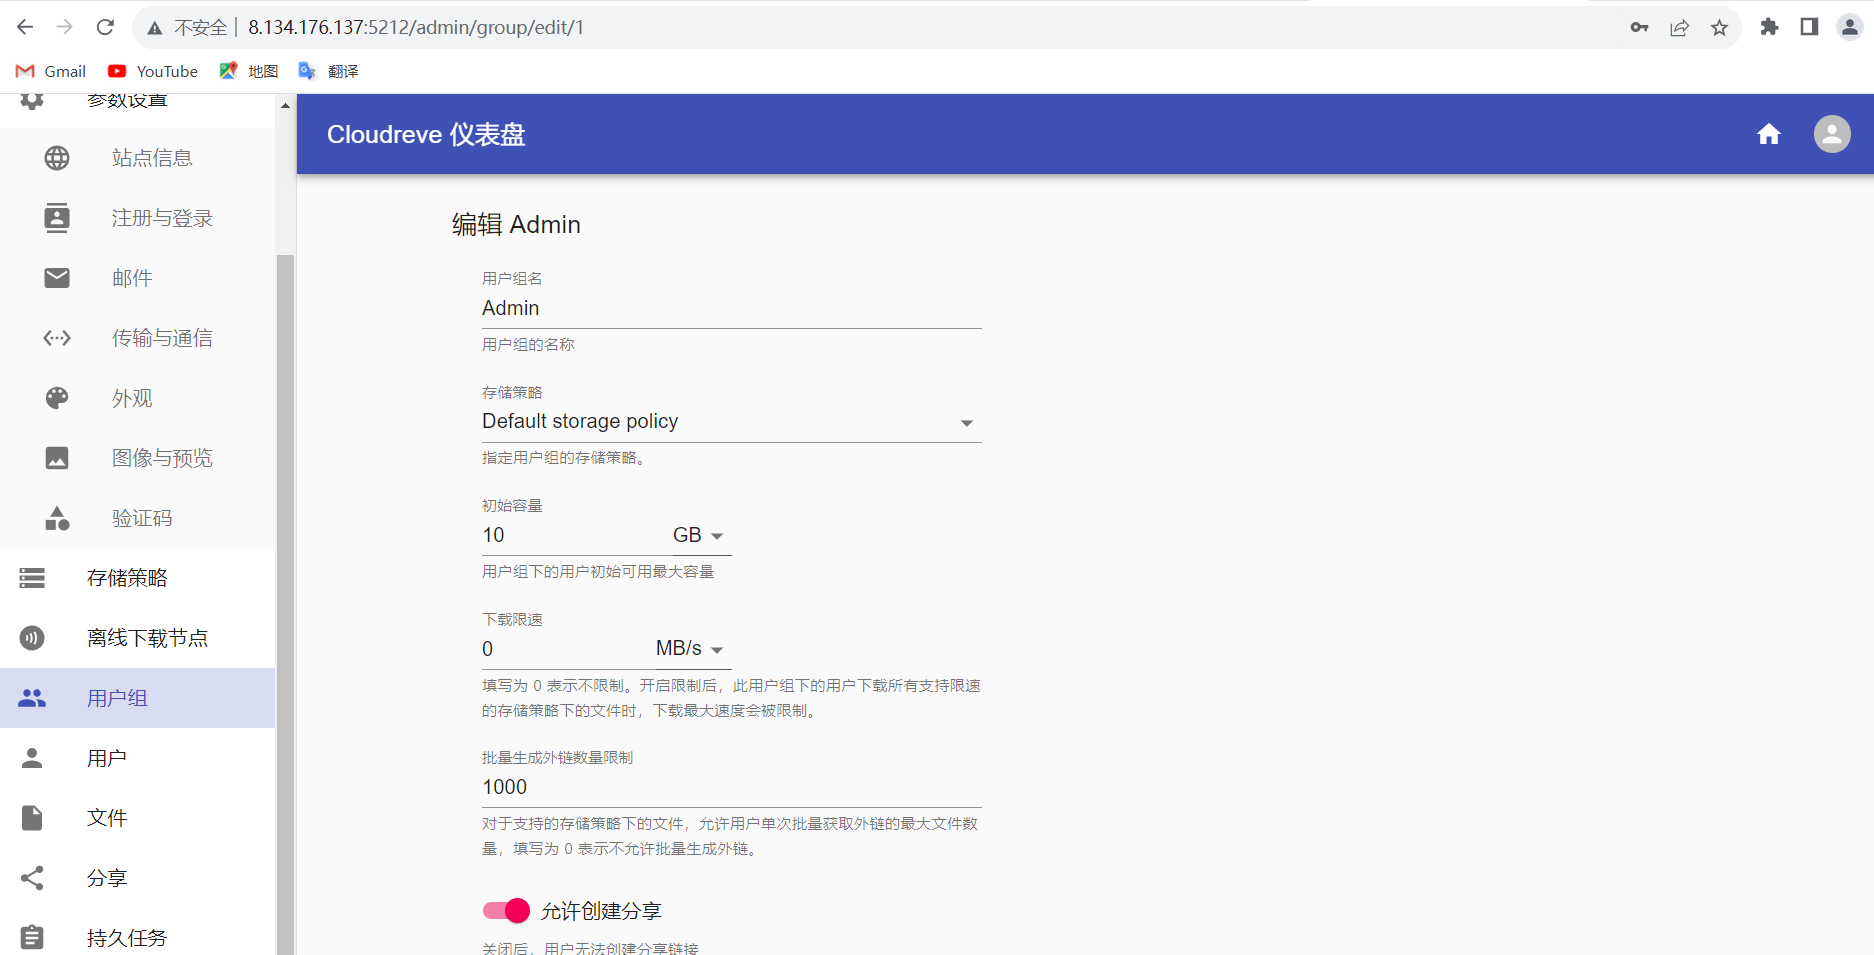
Cloudreve作为一个云盘系统,可以选择本机存储,从机存储,七牛云,或者阿里云OSS对象存储等多种存储方式
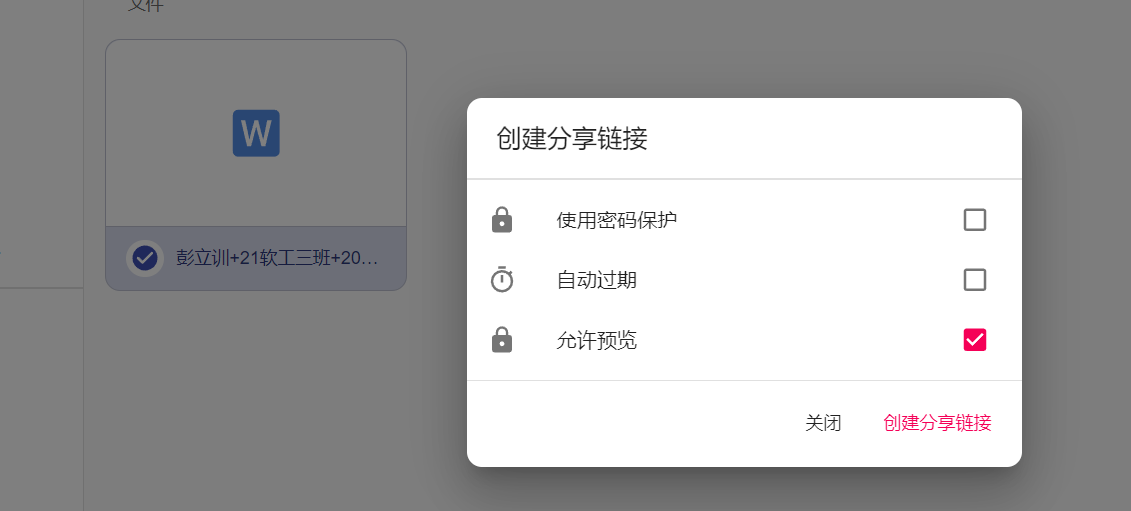
并且还拥有创建分享链接的功能
Cloudreve部署
http://example.com/2023/12/08/Cloudreve部署/